
Learn how to create a dotted mosaic photo effect in Photoshop. We can make a circular pattern and then apply it to the photo to obtain a dotted mosaic photo effects. We can apply the dotted pattern to the mask of the image. We apply first, pixelate mosaic filter on the photo. In addition, we create a layer for the background and fill it with black color. We recommend that you use a bright picture for this dotted mosaic effect.

Final result.
Step 1: Open Photo
Select menu File> Open to open your photo. Duplicate the layer to backup your original photo by choosing Layer> Duplicate Layer or Ctrl + J. You can hide the original photo visibility options.

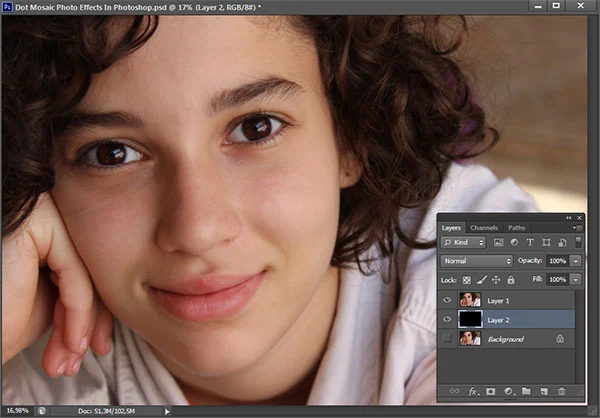
Step 2: Create a New Layer For Background
Choose Layer> New Layer or shortcut Ctrl + Shift + N. Fill it with the background color of your choice by choosing Edit> Fill. Click the drop-down menu, I would choose Black color and then click OK button.
Step 3: Apply Mosaic Filter
Select Filter> Pixelate> Mosaic. Please fill in the Cell Size depends on your photo. I will give the value of Cell Size 40 px.

Step 4: Create a Document For Dot Pattern
Create a new document by choosing File> New or Ctrl + N. You must fill in the Height and Width column with the same size with the mosaic filter size that you just created earlier. For this example, I will create a document with size 40 height and width of 40 pixels. Fill this document with a background color. I'm going to fill it with the black color by choosing Edit> Fill, choose Use column Black and then click the OK button.

Create a circular selection using the Elliptical Marquee Tool.

Press Delete keyboard button. In order to form a perfect circle, make a selection using the mouse while holding down the Shift key.

Lastly, create a pattern by choosing Edit> Define Pattern. Please fill in the name of Pattern Mosaic pattern eg 40x40, then click the OK button.

Step 5: Create a Mask
Back to document mosaic photo, then create a mask on the photo by choosing Layer> Layer Mask> Reveal All.

Step 6: Fill Mask With Dot Mosaic Pattern
Make sure the mask active by click on it and then select Edit> Fill, choose "Use" drop-down and then select the pattern mosaic pattern that we created earlier. Click the OK button. Now, the circle mosaic photo effect has been completed.

Here is the original photo:

And here is the result: Tutorial on how to create a Dotted mosaic photo effect in Photoshop.
No comments:
Post a Comment